

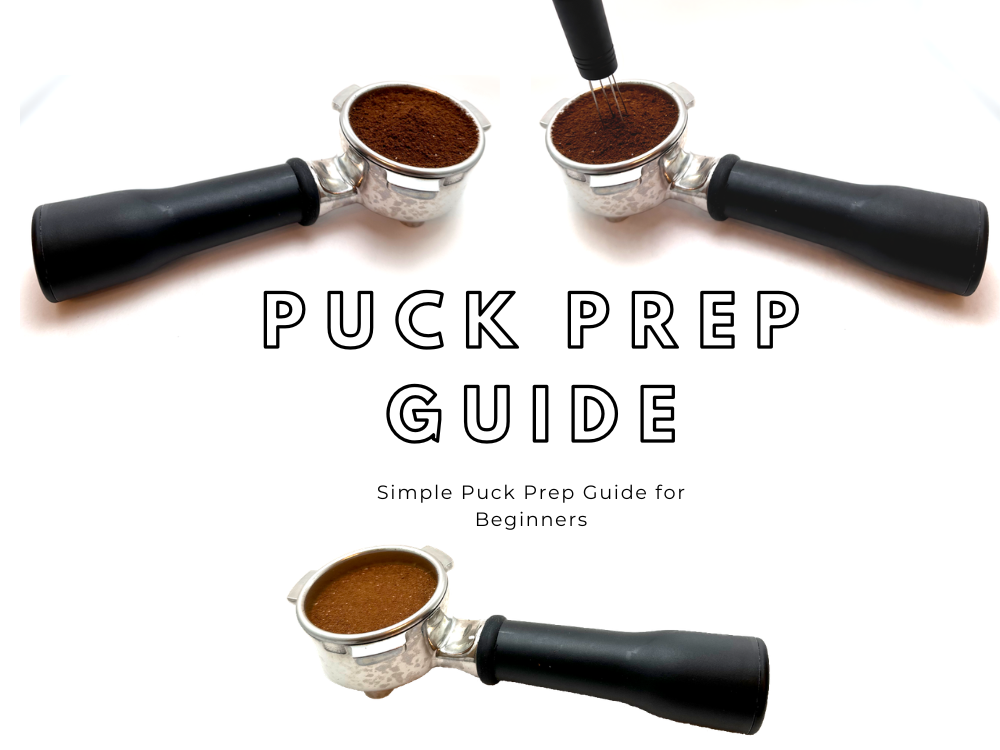
If you’re new to espresso, puck prep can feel like a black hole of opinions, tools, and rituals. One video tells you to spin, tap, rake, and polish. Another says none of that matters. It’s confusing, and for beginners, often discouraging.
Here’s the reality: good puck prep is not about fancy tools or perfect technique. It’s about creating the same coffee bed every time, a puck that is consistent, level, and free of clumps so water can flow evenly through it.
In this guide, I’ll walk through a simple, beginner-friendly puck prep process that works day after day. The focus is the process, not the gear. I’ll mention tools only where they make that process easier and more repeatable, especially when you’re just starting out.
TL;DR – The Goal of Puck Prep for Beginner Espresso
The goal of puck prep is simple:
- Even distribution
- Clump-free coffee bed
- Leveler and consistent compression
If you achieve those three things, your espresso will improve, regardless of machine or grinder. Tools like a leveler, WDT tool, and spring-loaded tamper don’t make espresso better on their own; they just make it easier to hit those goals consistently.
What Good Espresso Puck Prep Looks Like (Level, Even, Clump-Free)
Before talking about steps or tools, it helps to know what you’re aiming for.
A well-prepped puck:
- Has coffee evenly distributed across the basket
- Shows no visible clumps or dense pockets
- Is flat and level before and after tamping
- Is compressed evenly from top to bottom
You don’t need laboratory precision. You need repeatability. If your puck looks roughly the same every shot, you’re on the right track.
Why Inconsistent Puck Prep Causes Channeling and Bad Shots
Espresso extraction is simple physics. Water takes the path of least resistance.
If your puck has:
- Clumps → water rushes around them
- Uneven density → channels follow the low density portions
- A sloped surface → one side extracts more than the other
The result is inconsistent flow, unpredictable shot times, and espresso that tastes sour, bitter, or hollow, even when your recipe stays the same.
This is why puck prep matters so much for beginners: it removes hidden variables that make dialing in frustrating.
The Most Common Beginner Puck Prep Mistakes (And Why They Happen)
Most beginners struggle not because they’re doing too little—but because they’re doing too much.
Common mistakes include:
- Tamping at an angle (harder than it sounds to tamp straight down)
- Over-stirring grounds and creating density differences
- Tapping the portafilter aggressively creating an untended channel between the grounds and the basket
- Changing more than 1 variable between shots
- Adding tools before understanding the process
- Blaming
The fix often isn’t more steps. It’s a simpler, repeatable process you can follow every morning without thinking. This guide will explain a simple method for achieving good coffee puck preparation. For a guide on espresso making start to finish, check out this guide: My Exact Bambino Plus Workflow.
Best Puck Prep Process for Beginners (Simple, Repeatable Steps)
This is the core workflow I recommend. Every step exists for one reason: creating a consistent, level, clump-free puck.
- Keep all the grounds in the basket (dosing funnel)
- Break up clumps and even density (WDT if your grinder leaves clumps)
- Create a flat-ish surface (WDT, leveler tool, or tapping side of portafilter)
- Lock it in with one or two vertical tamps
That’s it.
Step 1 – Containing the Dose for an Even Coffee Bed
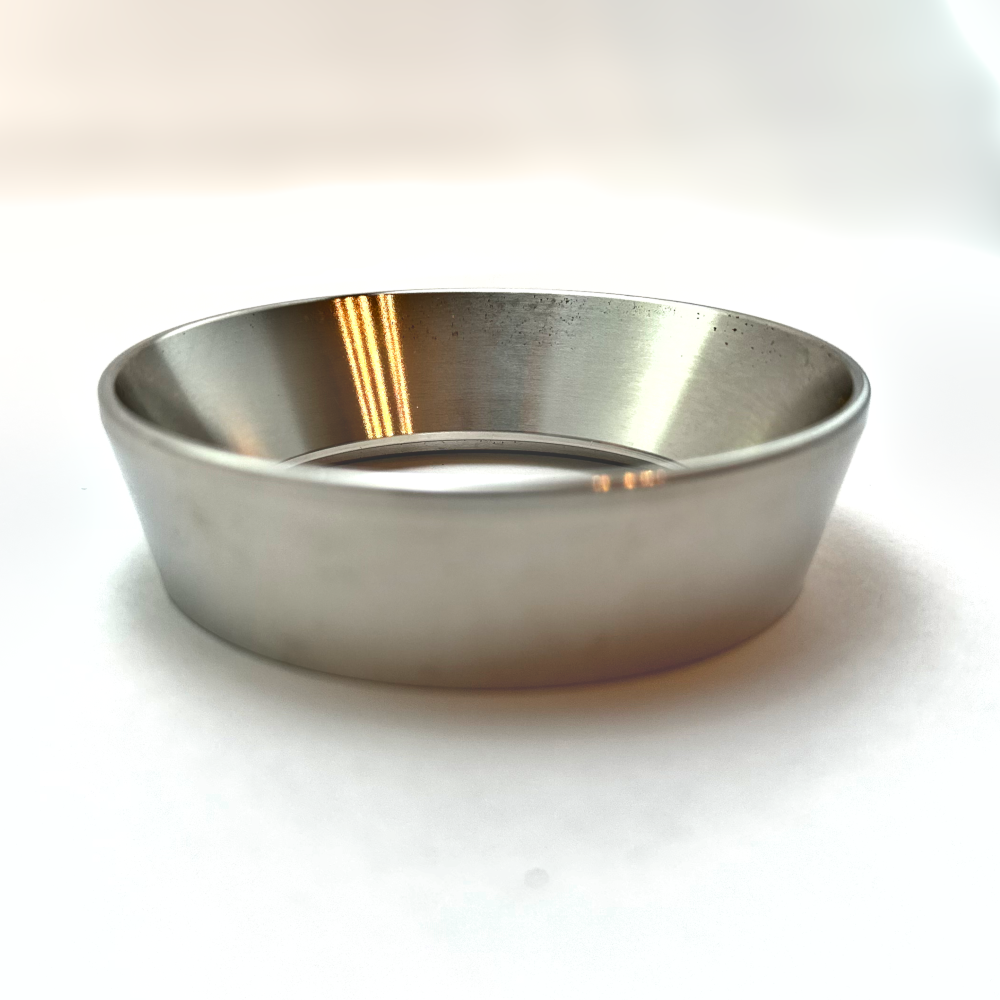
Before distribution even begins, you need all your coffee in the basket. Lost grounds mean:
- A smaller dose than intended
- Increased space between the grouphead and the coffee bed (messy puck and potential extraction issues)
- Uneven density
- Inconsistent extractions
This is where a dosing funnel helps, not because it improves flavor, but because it keeps your dose intact and your workflow calm. Especially when single dosing or using a grinder that produces fluffy grounds, a funnel removes unnecessary mess and variability.
Step 2 – Breaking Clumps and Evening Density Across the Basket
Clumps are one of the biggest causes of channeling. Your goal here is not to “stir” the coffee, but to:
- Break up visible clumps
- Even out density across the basket and remove the cone/pyramid shape of the grounds
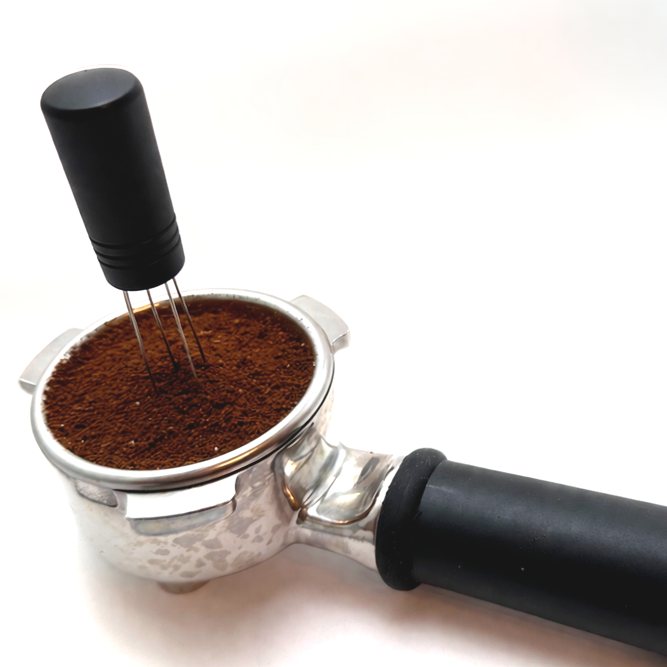
This is where WDT (Weiss Distribution Technique) fits, but only when used gently. Beginner-friendly approach:
- Insert the needles just below the surface
- Use small, controlled circular motions
- Stop as soon as the bed looks fluffy and even
Aggressive stirring or digging deep into the basket often makes things worse by creating uneven density. If you don’t have a WDT (cheap ones are often <$10), then gently tapping the side of the portafilter may suffice if your grinder produces grounds that are generally clump free.
Step 3 – Creating a Level Surface Before Tamping
Tamping does not fix uneven distribution. It locks it in. Before you tamp:
- The coffee bed should look relatively flat with minimal mounds or slopes
- Grounds evenly spread edge to edge
- May utilize WDT, leveler tool, tapping edge of portafilter to achieve this
Avoid tapping the portafilter aggressively. It often shifts coffee unevenly and undoes your distribution work. Eyeballing level is usually enough. Perfection isn’t required.
Step 4 – Locking in the Puck with Consistent Pressure
Tamping is about consistency, not strength. One or two, straight-down tamps is all you need. Twisting, polishing, or tamping multiple times doesn’t improve extraction.
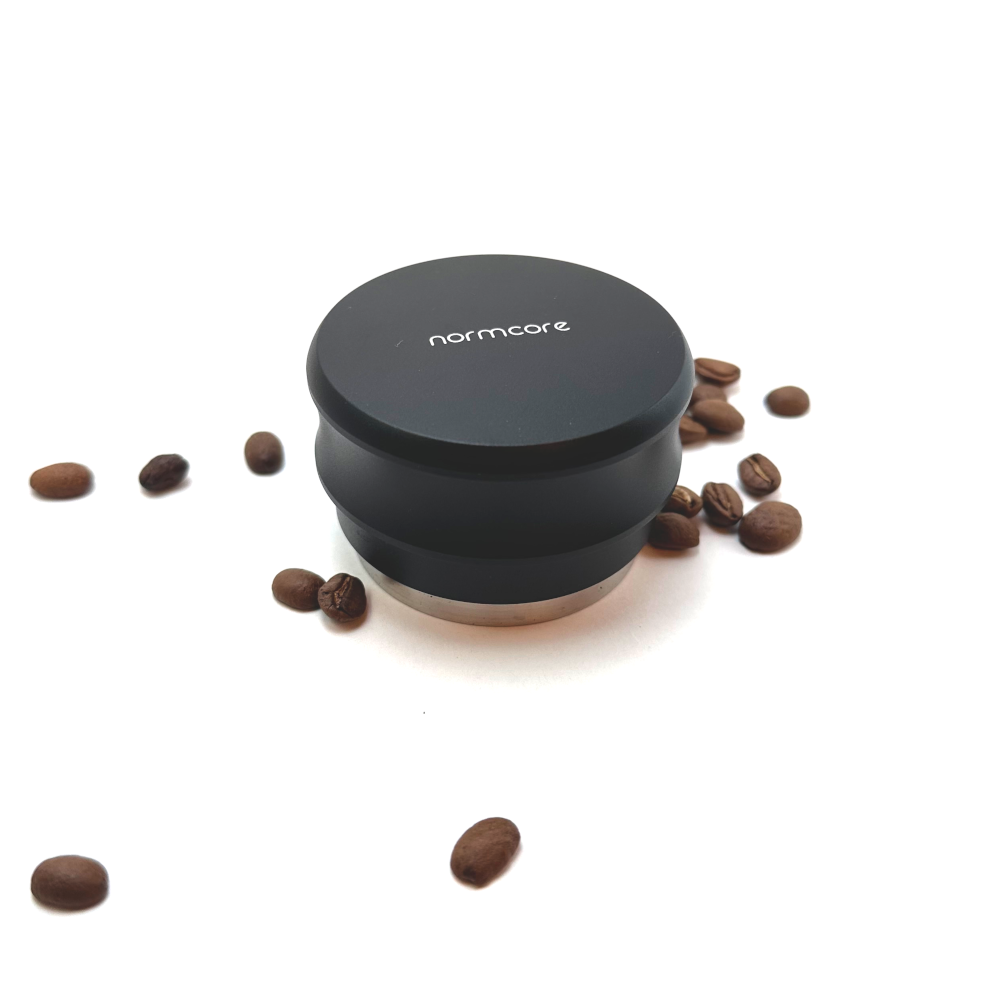
This is where a spring-loaded tamper shines for beginners and even experienced baristas tend to enjoy its ability to increase consistency. It:
- Applies the same pressure every time
- Keeps the puck level
- Removes technique variability
Think of it as a consistency tool, not a performance upgrade.
What Tools Actually Help Beginners Stay Consistent (And Why)
Tools should solve problems, not add complexity. For beginners, these are the only ones that meaningfully support the process:
- Dosing funnel: keeps the dose consistent and mess-free (generally cheap)
- WDT tool: breaks clumps and evens density (generally cheap)
- Spring-loaded tamper: ensures level, repeatable compression (can be a little pricey)
None of these tools magically improve flavor. They simply reduce mistakes while you build confidence and consistency.
How to Tell If Your Espresso Puck Prep Is Working
You’ll know your puck prep is improving when:
- Taste is more balanced and consistent (This matters most)
- Shot times become more repeatable with the same bag of beans
- Grind adjustments have predictable effects
- Channeling and spraying decrease
If is sometimes recommened to inspect the puck post-extraction, however this can sometimes lead to necessary adjustments. Messy pucks after brewing don’t matter. Some channeling in the pucks also don’t always mean a bad extraction occured. Taste and consistency are the primary indicators of a good process.
Final Thoughts – Consistent Puck Prep Beats Perfect Technique
The best puck prep technique is one that you can repeat every single morning with minimal variation. Puck prep quality if often the difference between a good and bad shot of espresso.
If you focus on creating a consistent, level, clump-free puck, you’ll get better espresso faster than chasing tools or trends. Accessories like WDT tools, dosing funnels, and spring-loaded tampers are useful only because they support that process, not because they’re required. Check out our guide on essential gear and accessories for great espresso.
Keep it simple. Keep it repeatable. Let taste guide your adjustments.
Key Takeaways
- Puck prep is about evenness and consistency
- Clump-free, level pucks extract more predictably
- Tools should reduce mistakes, not add steps
- One repeatable workflow beats many “perfect” ones
- Taste matters more than how the puck looks