If you’ve been researching Bambino Plus shot time, you’ve probably seen the same advice repeated everywhere: “Espresso should extract in 25–30 seconds.” When I first started using the Breville Bambino Plus, I treated that range like a hard rule. If my shot ran 22 seconds, I assumed it was under-extracted. If it ran 33 seconds, I assumed I’d ruined it.
After a year of daily use and consistent dialing in, here’s what I’ve learned:
- 25–30 seconds is a guideline
- It is not a performance score
Understanding what shot time actually measures and how to measure it, will make you far more consistent with this machine.
TL;DR – Bambino Plus Shot Time in Plain English
- The ideal espresso shot time is usually 25–30 seconds
- 25–35 seconds is completely normal on the Bambino Plus
- Grind size controls shot time more than the machine
- Brew ratio (dose → yield) matters more than seconds alone
- Taste is the final decision-maker
If it tastes balanced and sweet at 32 seconds, that’s a good shot.
Where the 25–30 Second Espresso Rule Comes From
The classic espresso benchmark looks like this:
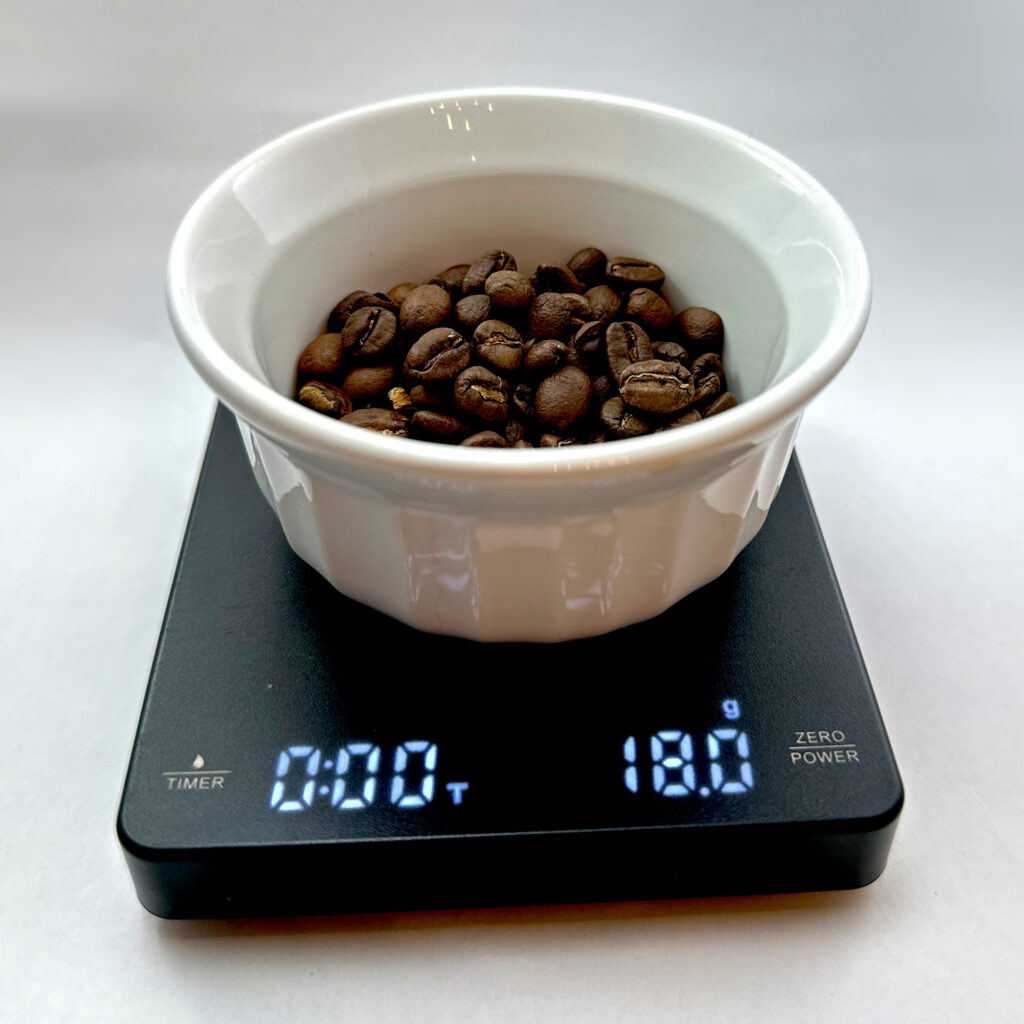
- 18g dose
- 36g yield (1:2 ratio)
- 25–30 second extraction
This range became popular because it consistently produced balanced espresso in traditional café environments using medium roasts. But here’s the key detail most guides skip:
That timing assumes a specific ratio, roast level, and grind quality. Change the coffee or ratio, and the “rule” shifts. Shot time is not a universal constant, it’s a reflection of resistance and extraction.
What Controls Shot Time on the Bambino Plus?
The Breville Bambino Plus is mechanically consistent. It uses:
- 9-bar pump pressure
- Pre-infusion
- PID temperature control
It does not randomly alter extraction time. Running a blank shot prior to brewing will eliminate most machine-related barriers to a consistent shot pull.
Bambino Plus shot time is primarily influenced by:
- Grind size (largest factor)
- Dose amount
- Puck prep (distribution + tamp)
- Bean type
- Coffee freshness
When timing is off, the grind and puck prep is the usually cause.
What Shot Time Actually Is (and How to Measure It Correctly)
Shot time is the total duration that water is actively flowing through the coffee puck during an espresso extraction.
On the Breville Bambino Plus, shot time reflects:
- How much resistance the puck creates
- How evenly water flows through the coffee
- How efficiently flavor compounds are extracted
It is not a score of shot quality by itself.
When to Start and Stop the Timer
For consistency, measure shot time like this:
- Start timing when the pump engages (when you press the brew button)
- Stop timing when you stop the shot (at your target yield)
This method ensures your timing matches what most espresso recipes and diagnostics assume.
Does Shot Time Include Pre-Infusion?
Yes, it should.
The Bambino Plus uses automatic pre-infusion (low pressure water before full pump pressure).
This phase:
- Saturates the puck
- Reduces channeling
- Adds a few seconds before full extraction begins
Most published espresso shot times include pre-infusion unless explicitly stated otherwise. So when you see: “18g in → 36g out in 30 seconds,” that almost always means total time including pre-infusion, not just the flowing portion. If you exclude pre-infusion when timing:
- Your numbers won’t match common guidance
- You’ll think your shots are “too fast” when they aren’t
For clarity and repeatability: Always include pre-infusion in your shot time.
Bambino Plus Shot Workflow: Manual vs Auto Buttons
The Bambino Plus gives you two ways to pull shots. Both work well, the difference is control.
Auto (Volumetric) Shot Workflow
Best for convenience once dialed in.
Steps:
- Dial in grind size using a scale, add to portafilter
- Hit the double cup button (pre-program per the Breville manual)
- Press the button and let the machine stop automatically
- Weigh output occasionally to confirm consistency
Pros:
- Fast and repeatable
- Great for daily use
- Hands-off once programmed
Limitations:
- Volume can drift with grind or bean changes
- Requires occasional re-programming
- Less precise during dial-in
Auto mode works best after you’ve already nailed your ratio and grind.
Manual Shot Workflow (Recommended for Dial-In)
Best for accuracy and learning. This produces more consistent results.
Steps:
- Place a scale under your cup
- Press and hold the brew button to start pre-infusion(~5 seconds)
- Release to end pre-infusion and start full pressure extraction
- Watch yield on the scale
- Stop the shot manually at your target grams
Pros:
- Full control over brew ratio
- Perfect for dialing in new beans
- Shot time becomes meaningful data
Why manual matters:
Manual mode ensures you always stop at yield, not time, which is exactly how shot time should be used.
Why 30 Seconds Isn’t a Rule
Consider two real-world examples:
Shot A
18g in → 36g out → 32 seconds
Tastes balanced and sweet.
Shot B
18g in → 36g out → 27 seconds
Tastes sour and thin.
Shot B technically “hit” the ideal espresso shot time.
Shot A tastes better.
That’s why shot time is a diagnostic metric, not a quality guarantee.
Chasing 30 seconds instead of chasing balance is one of the most common beginner mistakes.
What Matters More Than Shot Time
Brew Ratio (Dose to Yield)
If you want consistent results on the Bambino Plus, control your ratio first.
Common starting point:
- 18g in → 36g out (1:2)
But slight adjustments change extraction:
- 18g → 40g (more clarity, slightly lighter body)
- 18g → 32g (heavier, more intense)
Each ratio may land at a different extraction time. If you focus only on seconds and ignore yield, dialing in becomes guesswork.
Taste
Professional dial-in hierarchy:
- Taste
- Ratio
- Time
If your espresso tastes:
- Sour → grind finer (Fix Sour Shots)
- Bitter → grind coarser (Fix Bitter Shots)
- Thin → reduce yield
- Dry/astringent → slightly increase yield
Time supports these decisions. It doesn’t override them.
If you need assistance in troubleshooting inconsistent or off tasting shots, check out:
Bambino Plus Troubleshooting Guide (Fix Sour, Bitter, Weak & Inconsistent Espresso)
Roast Level
- Light roasts often require longer extraction: 30–35+ seconds is common.
- Dark roasts often extract faster: sometimes 22–28 seconds.
If you rigidly force every coffee into a 30-second window, you’ll mis-dial many beans. The ideal espresso shot time depends on the coffee in your grinder.
A Simple Dial-In Framework for the Bambino Plus
Here’s the practical method I use:
- Start with 18g dose
- Target 36g yield
- Observe extraction time
If it lands between 25–35 seconds and tastes balanced, stop adjusting.
If it’s:
- Under 20 seconds → grind finer
- Over 40 seconds → grind coarser
Make small changes. The Bambino Plus responds quickly to grind adjustments.
The goal is repeatability and balance, not stopwatch precision. Check out My Exact Bambino Plus Espresso Workflow (Dose, Yield, Time) for tips of dialing in Espresso.
When Shot Time Actually Matters
Shot time becomes valuable when:
- Comparing multiple test shots
- Diagnosing grinder inconsistency
- Identifying channeling issues
- Noticing sudden extraction changes
If yesterday’s shot ran 29 seconds and today’s runs 21 seconds with the same settings, something changed. Time is a consistency checkpoint. It is not a flavor guarantee.
Common Bambino Plus Shot Time Mistakes
Stopping at Exactly 30 Seconds
Always stop the shot at your target yield, not your target time. Cutting early just to “hit 30” changes your brew ratio.
Ignoring Yield Completely
Using volumetric buttons without weighing output makes timing unreliable. A scale turns shot time into useful data instead of a guess. Even within the same bag of beans, each week that they age, shot time will be impacted.
Adjusting Multiple Variables at Once
Changing dose and grind simultaneously makes shot time impossible to interpret. Adjust one variable. Observe. Repeat.
Not Running a Blank Shot Prior to Brewing
A blank shot (running water without coffee) preheats the group head and portafilter before brewing.
If you skip this step, your first shot is brewed on cold metal, which lowers brew temperature and affects extraction. When you pull a second shot using the exact same dose, grind, and timing, it will often taste noticeably different simply because the machine is now warmer.
This temperature swing makes dialing in espresso much harder. You’re not actually changing your recipe, the machine is.
Running a short blank shot before your first espresso helps stabilize temperature, improves consistency, and ensures each shot is brewed under the same conditions.
Final Thoughts: How to Think About Bambino Plus Shot Time
The ideal espresso shot time for the Bambino Plus is typically 25–30 seconds, but this is really just a starting point when dialing-in. Taste should be the ultimate metric to measure a successful pull, not time.
Frequently Asked Questions
Q1: What is the ideal shot time for the Bambino Plus?
A: Start with 25–30 seconds for an 18g → 36g ratio. Anywhere from 25–35 seconds can be completely normal depending on roast and grind.
Q2: Why is my Bambino Plus shot running too fast?
A: Your grind is likely too coarse. Adjust finer in small increments.
Q3: Can a 35-second espresso shot still be good?
A: Yes, especially with lighter roasts that require slightly longer extraction for full flavor development.
Q4: Should I stop the shot exactly at 30 seconds?
A: No. Stop the shot when you hit your target yield, even if that’s 32–33 seconds.
Q5: Does the Bambino Plus automatically control shot time?
A: It offers volumetric buttons, but actual extraction time depends on grind size, dose, and puck resistance.